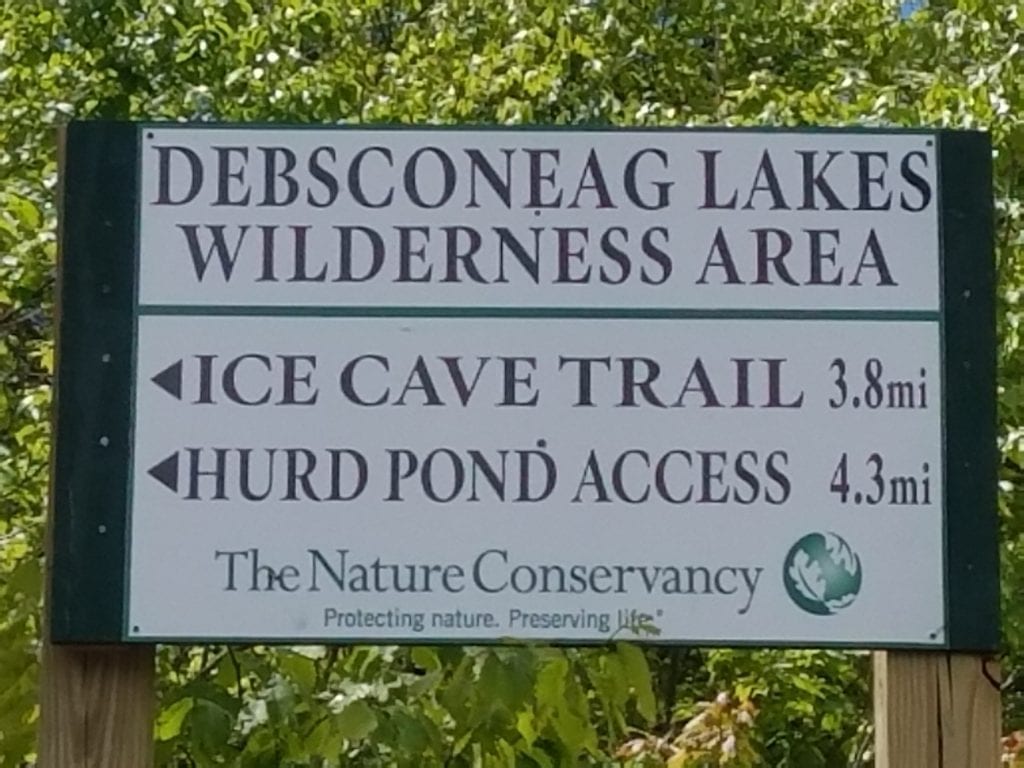
An Incredible Natural Wonder
I took some time this past weekend to head north and spend some time in the shadows of Katahdin Mountain. My first adventure took me to the Debsconeag Ice Cave, which is definitely worth the trip! This is a moderate hike and takes just about half an hour to hike once you reach the trailhead. You’ll be glad you took the time to check out this amazing region of the Debsconeag Lakes Wilderness Area! Make sure you check out my video of the ice caves at the end of this post!
The Quick & Dirty
DeLorme Map: 50, E5
Drive Distance: 18 miles from Millinocket. Leaving Millinocket, follow the road to Baxter State Park until you see the second set of large electric poles. Turn left before the second set of poles. Turn right at the end of that road onto the Golden Road. Follow the road until you reach Abol Bridge. Cross the bridge and take your first left. Follow the road for 3.8 miles, and keep left at the only fork in the road.
Hike Distance: 1 mile one way
Hike Time: Around 30 minutes at an average pace, one way
Hike Terrain: Starts level/easy, becomes moderate with roots and rocks to climb over, and the final descent to the ice cave is moderate-challenging, but only for approximately 10 minutes
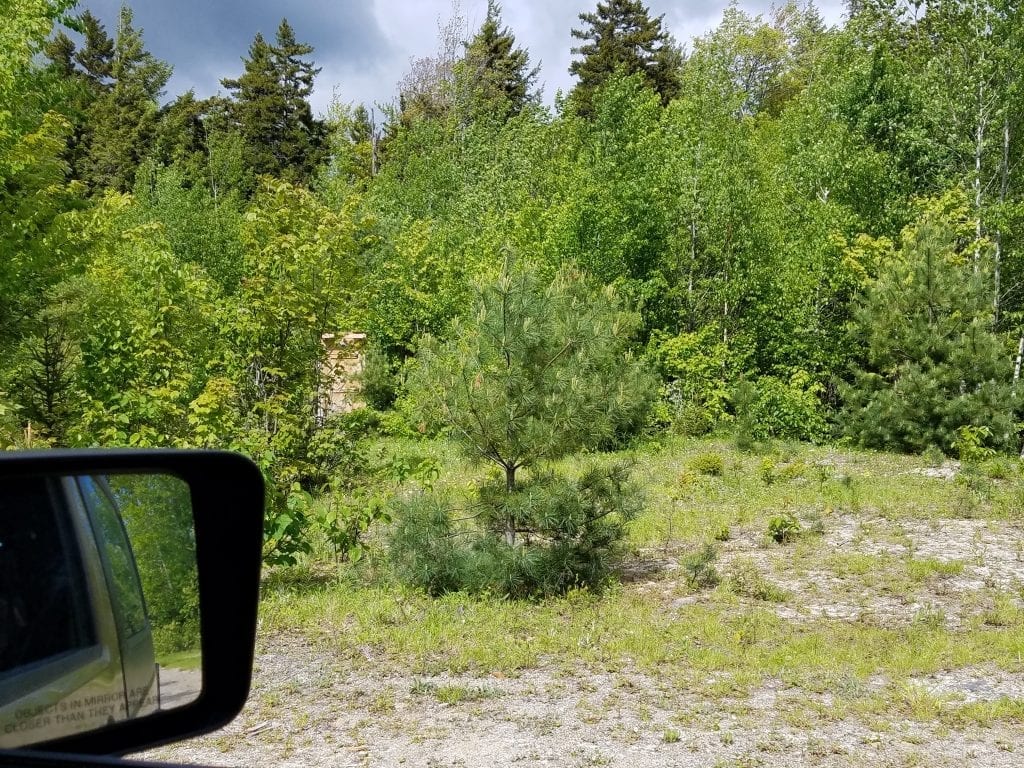
Recommended Vehicle: NOT a passenger car. Lots of sharp rocks (especially if the road was recently graded) which can puncture your tires, and there are TONS of pot holes and “washboard” sections on the road. Trucks or SUVs are best suited for this drive. That isn’t to say that I didn’t pass a ton of passenger cars. Especially Subarus. You Subaru fans know what I’m talkin’ ’bout.
Vehicle Gear Recommended: Flat tire repair kit, vehicle jack, tire iron, spare tire and tire air pump.
Detailed Directions to Abol Bridge
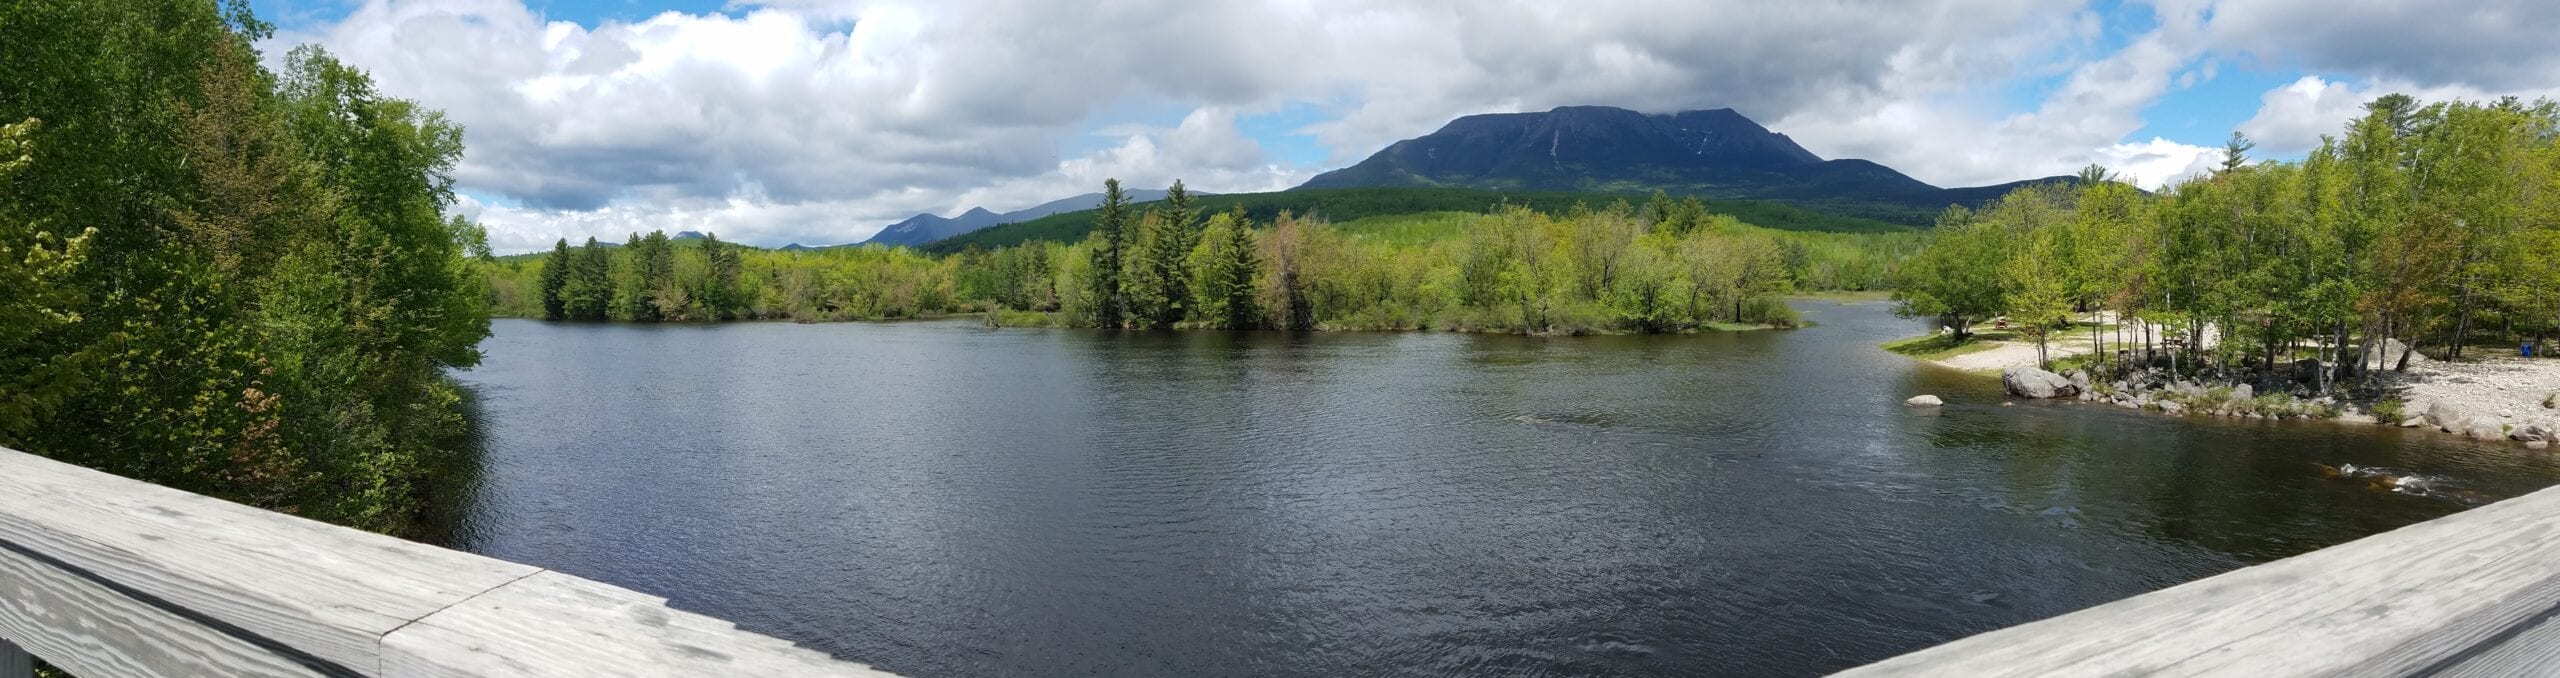
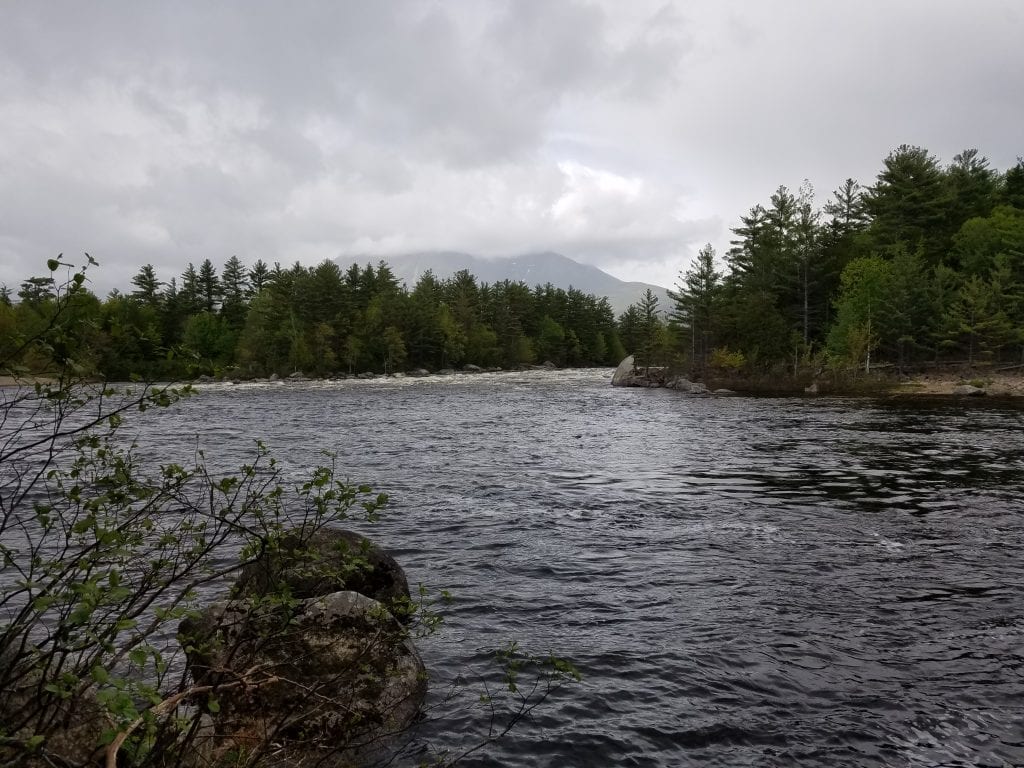
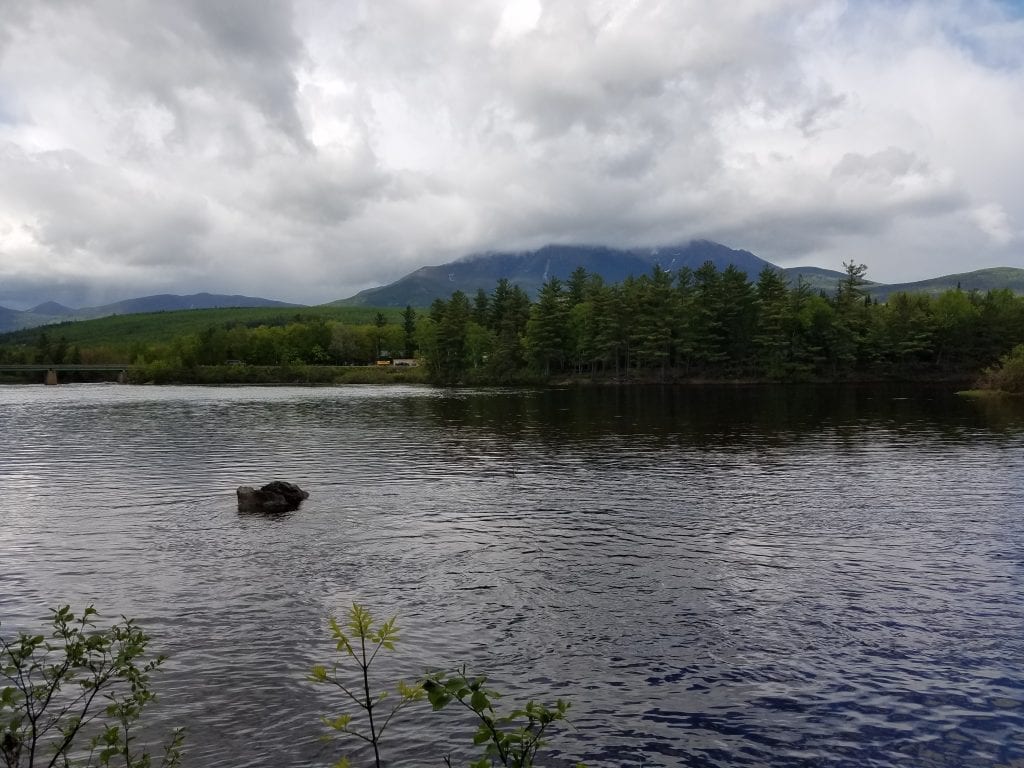
The incredible view from Abol Bridge.
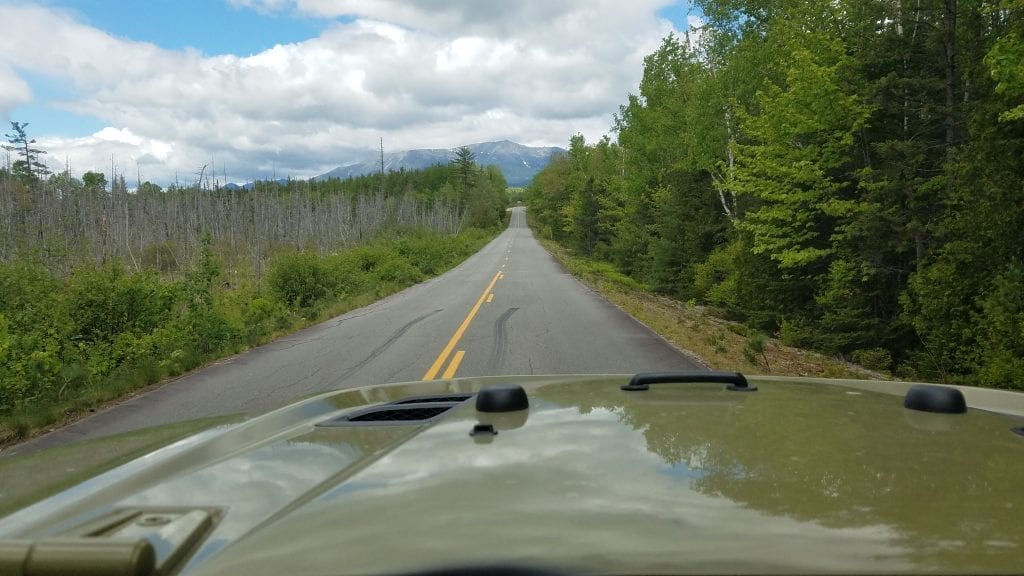
From Millinocket- follow the road signs for Baxter State Park. Stay on the road for Baxter State Park and turn left at the second set of electric poles. You will be able to see Katahdin in the distance from the electric poles. The road looks rough, but it doesn’t last long before you reach the Golden Road, in approximately 300 feet. If you reach the “Keep Maine Beautiful” rock, you’ve missed the turn. At the end of the short dirt road, you’ll be at a 4-way intersection, and you will turn right onto Golden Road. Going straight will take you onto Debonskeag Road, and there is a road sign which will tell you that. Follow the Golden Road until you reach Abol Bridge, and cross the bridge and park on the right after you cross so you can take some photos of the amazing view. You will know when you get there. The bridge is single-lane, and there is a whitewater rafting outfit that has an outpost there. This is a great opportunity to take a scenic photo of Mount Katahdin from the bridge. Walk along the far left side of the bridge in the snowmobile lane. You’ll kick yourself later if you don’t take this photo op- the weather changes quickly here and it could be cloudy and cover the mountain later.
Abol Bridge to the Trailhead
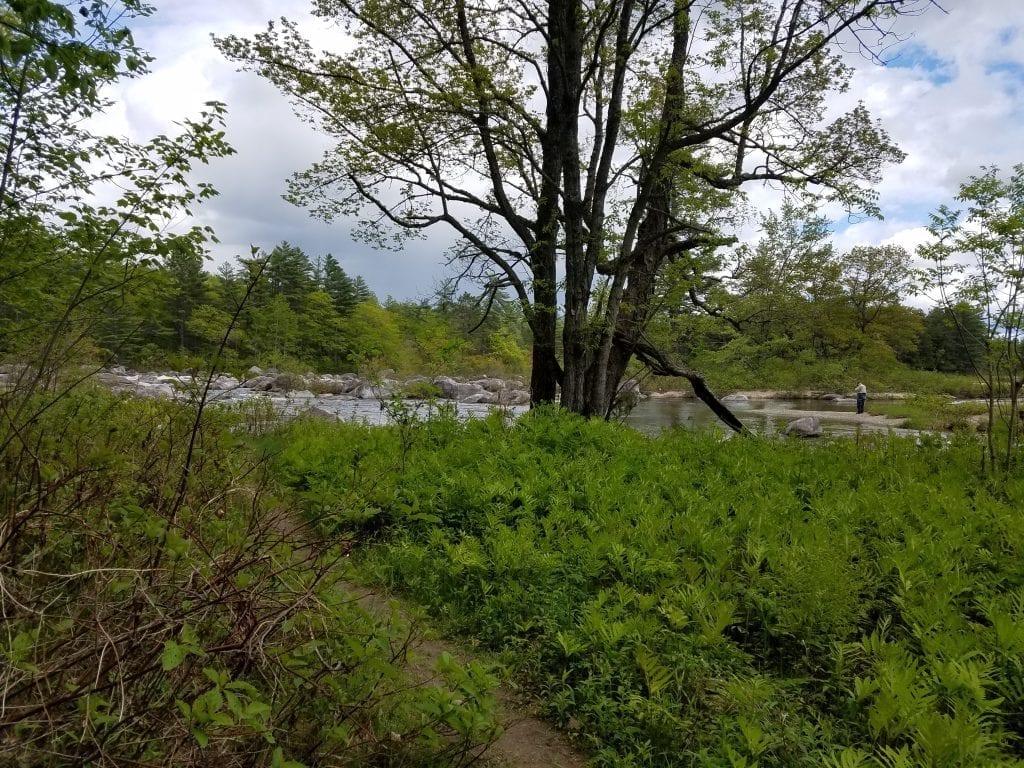
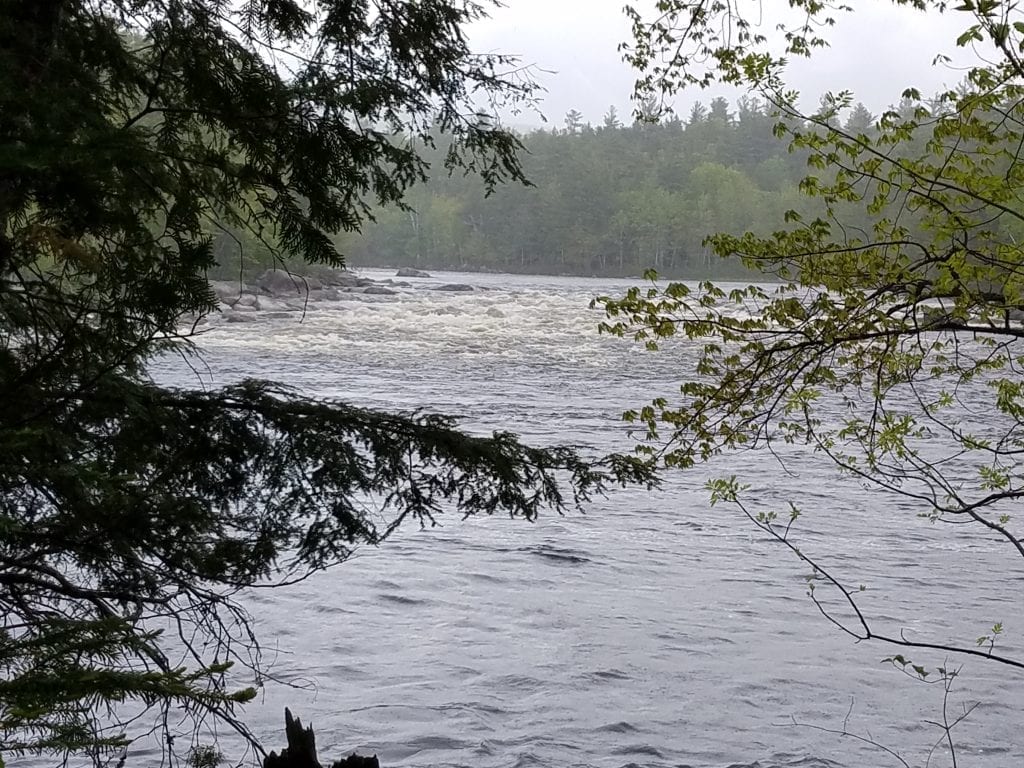
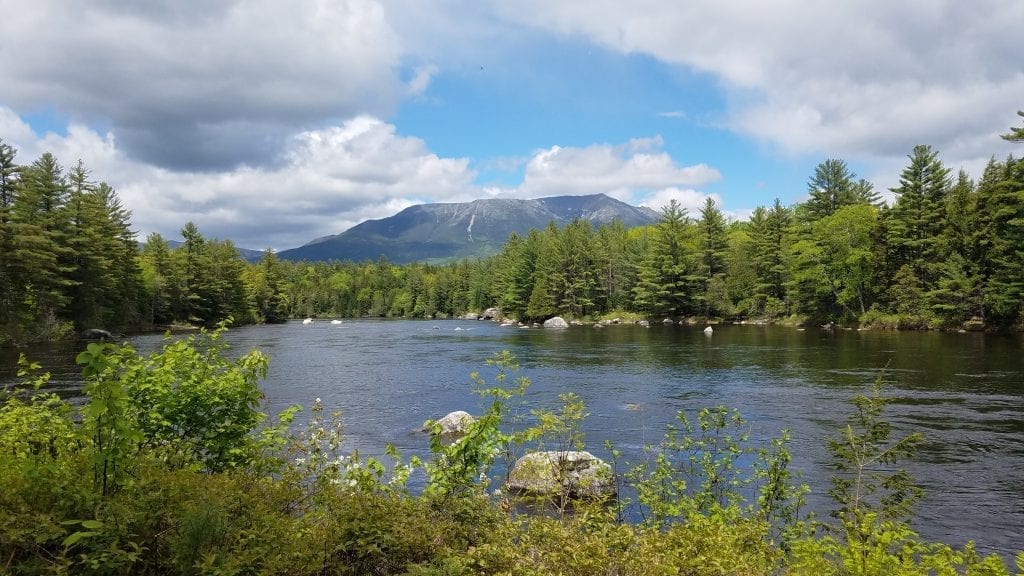
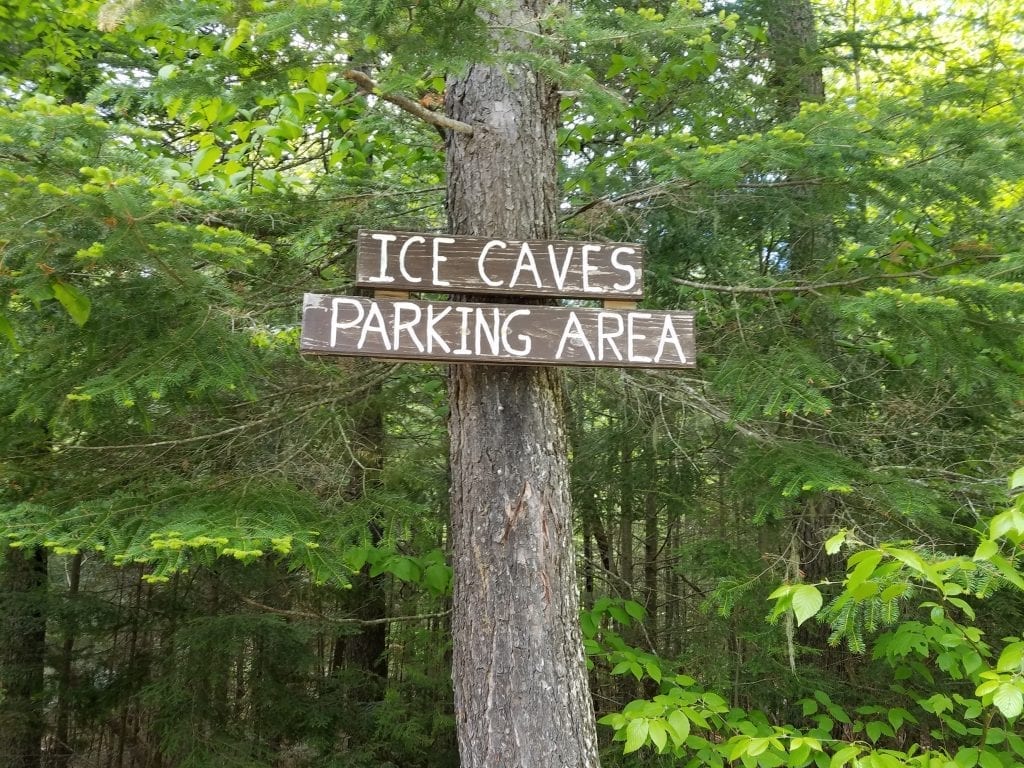
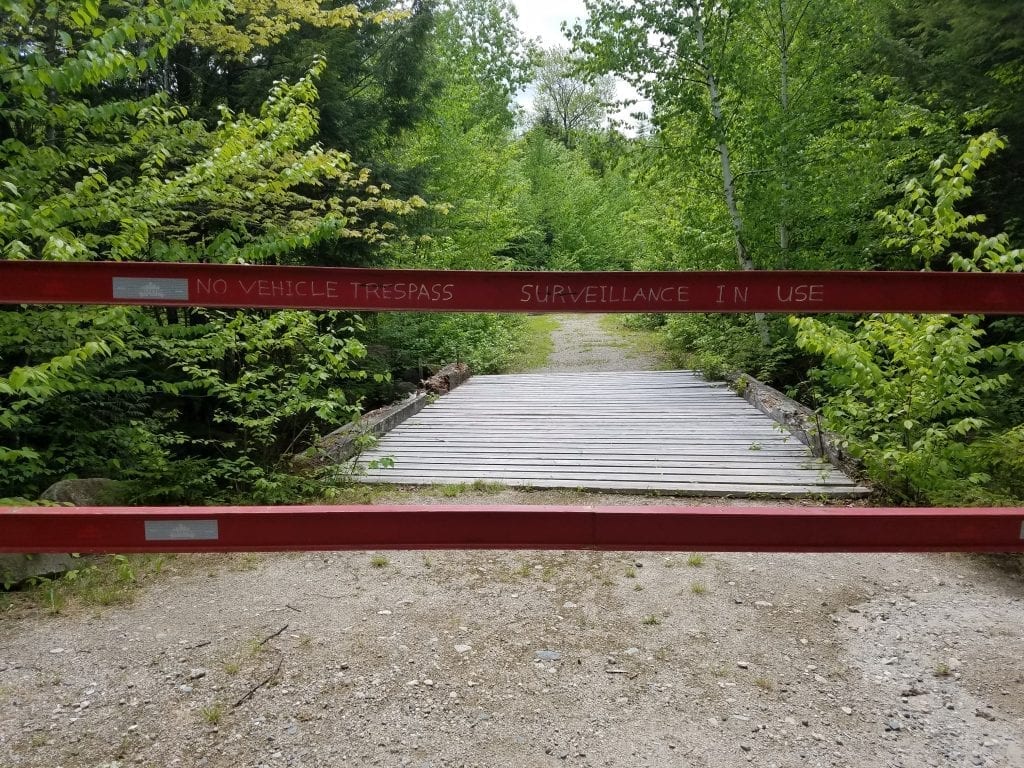
Take the left just after Abol Bridge and drive 3.8 miles to reach the trailhead. Keep left at the only fork in the road. You will pass several camps along the drive. When I passed one camp, the owner was rototilling his garden. What a view while doing your gardening work! There are a few nice places to stop at the beginning of the drive to take photos- you’ll know when you see them. The first falls you will pass are Abol Falls. Not far down the river, you will pass Pockwockamus Falls. Both are beautiful and visible from the road. Not far past Pockwockamus Falls, there is a stream that crosses the road. Literally. In dry times, the water will most likely not be flowing over the road. Every other time, be prepared to drive through the stream because you will literally be driving through the stream. Again, this is why I do not recommend this trip for passenger cars. It can get deep. When I crossed the stream at the beginning of June the water was around 4″ deep. From the stream crossing, it’s a straight shot to the trailhead. Stop when you reach the parking lot and the big red gate that warns you that you are being watched. I had to ask myself how they are watching us, but I won’t go there right now.
Hiking the trail
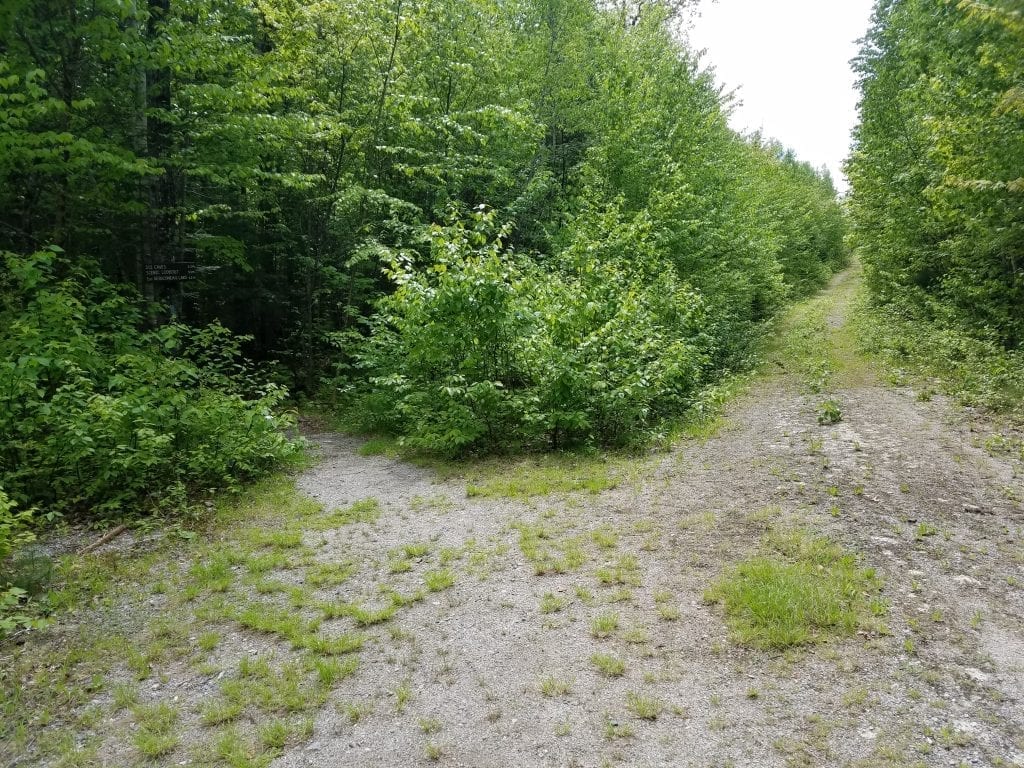
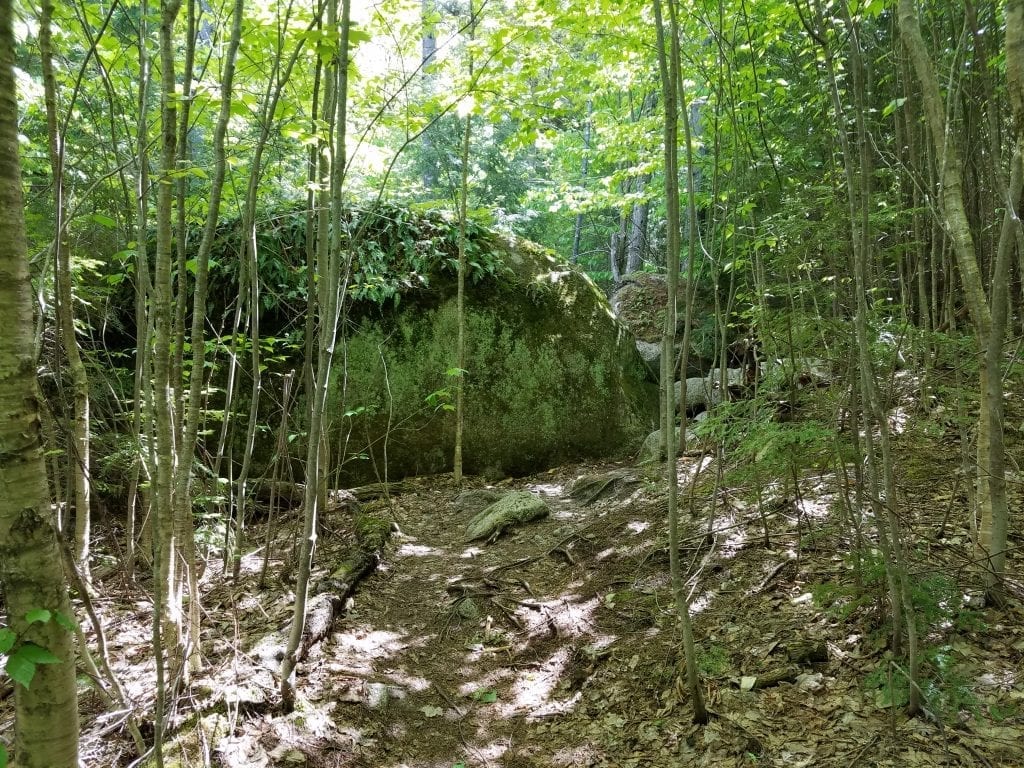
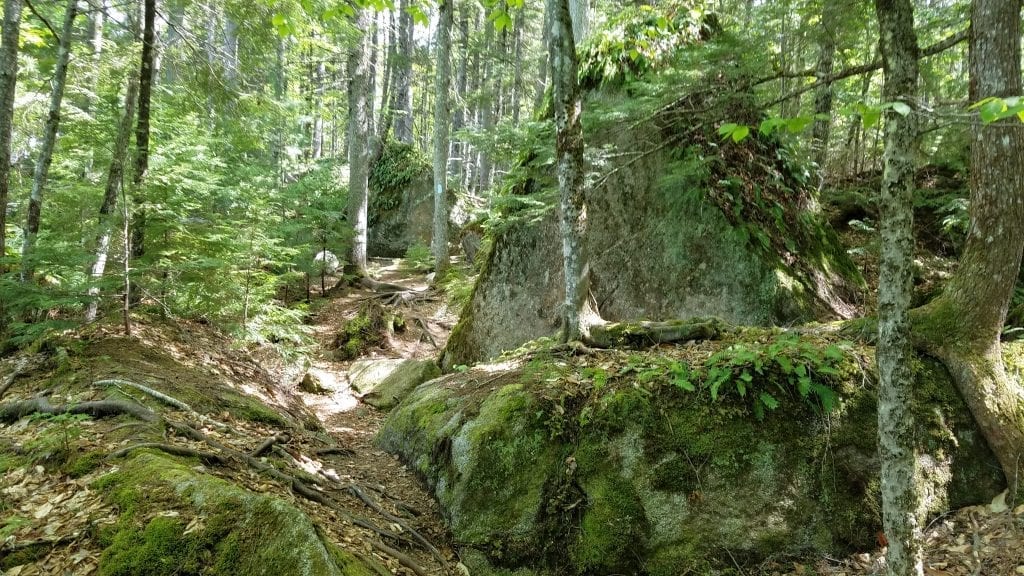
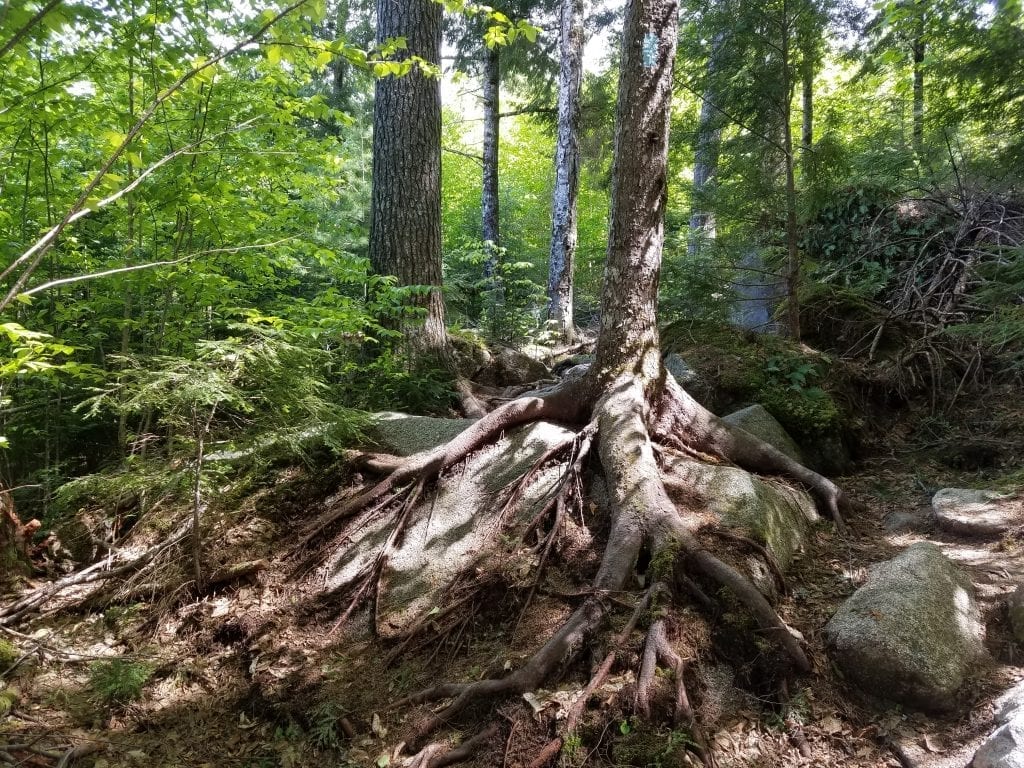
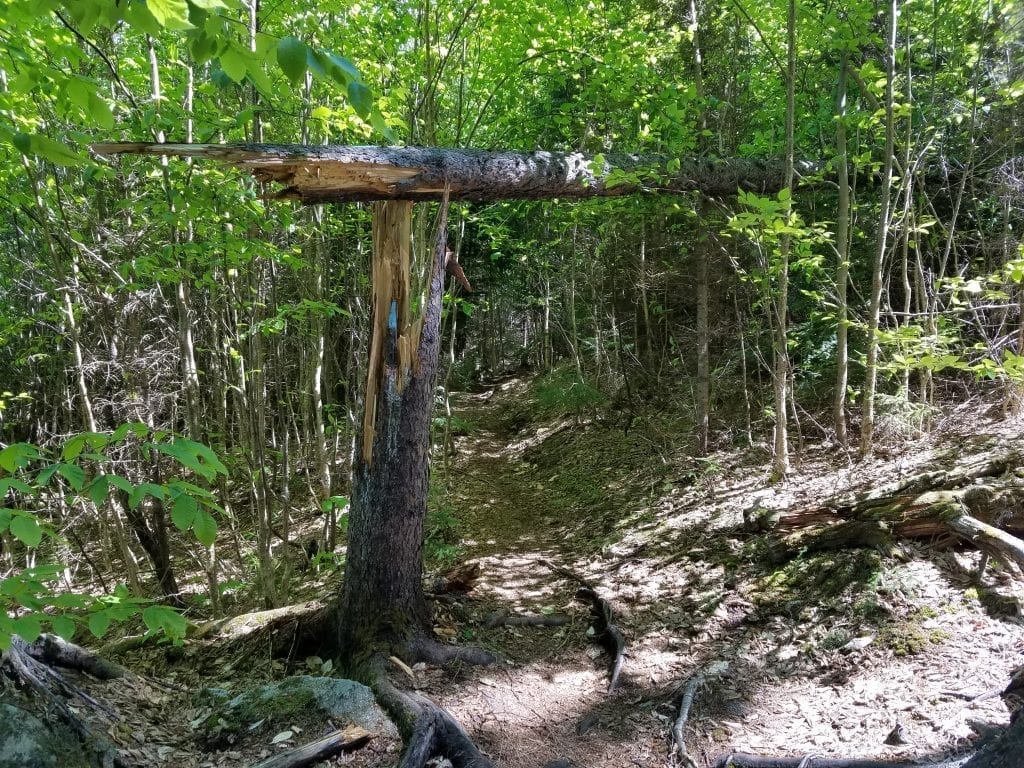
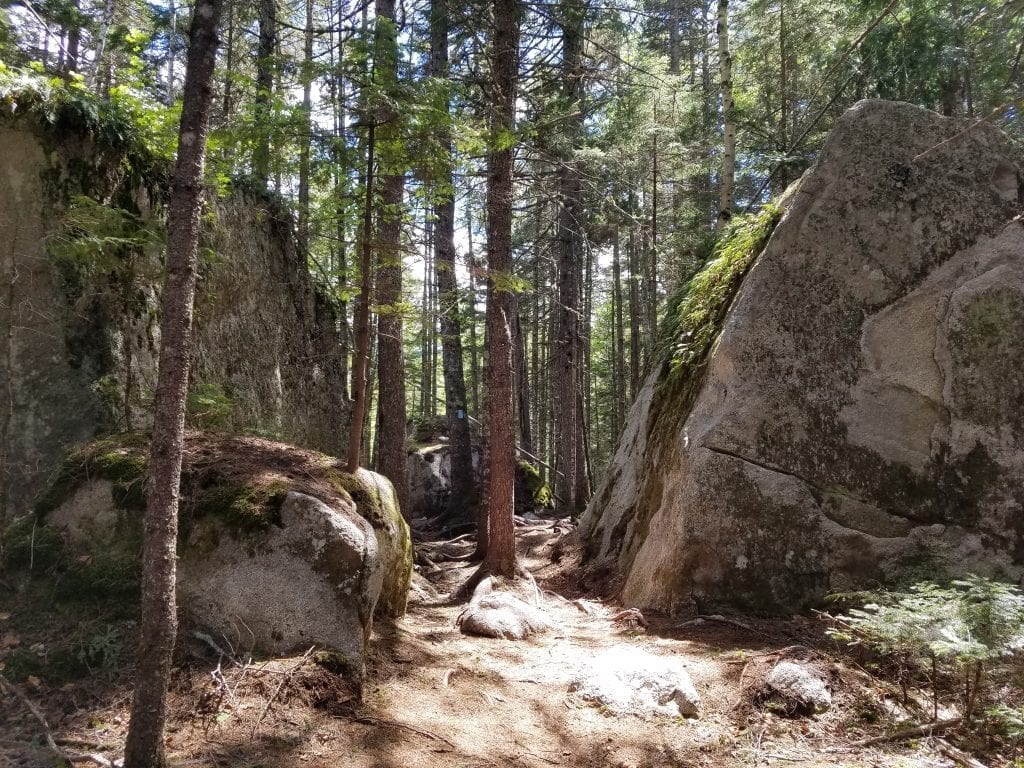
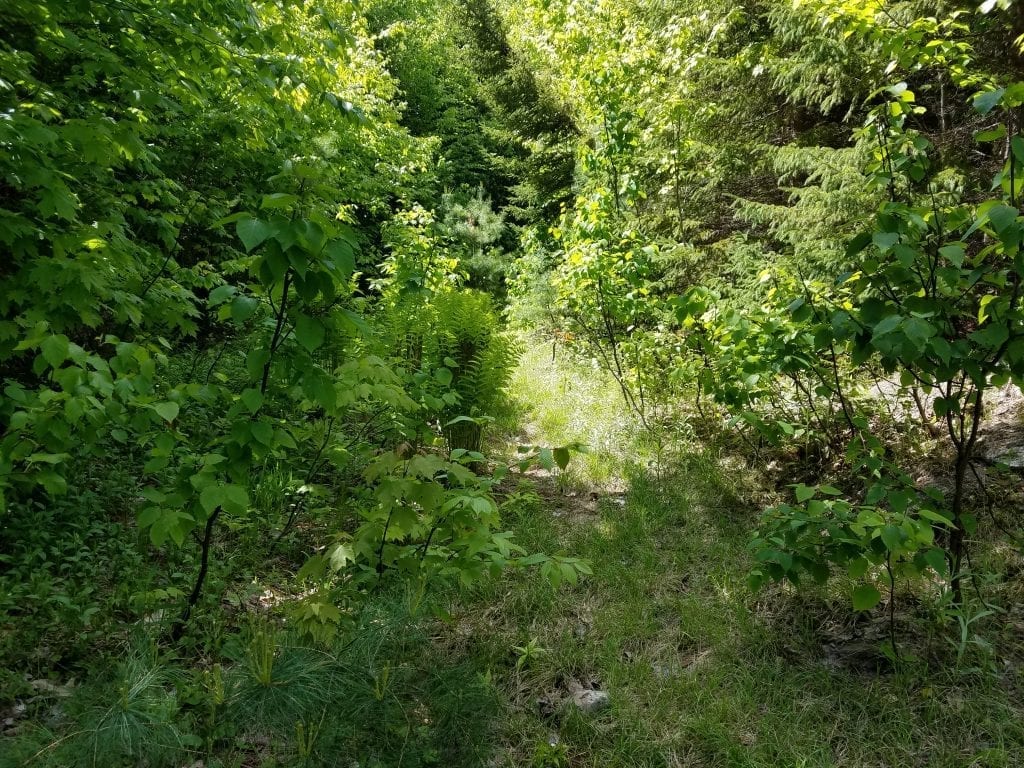
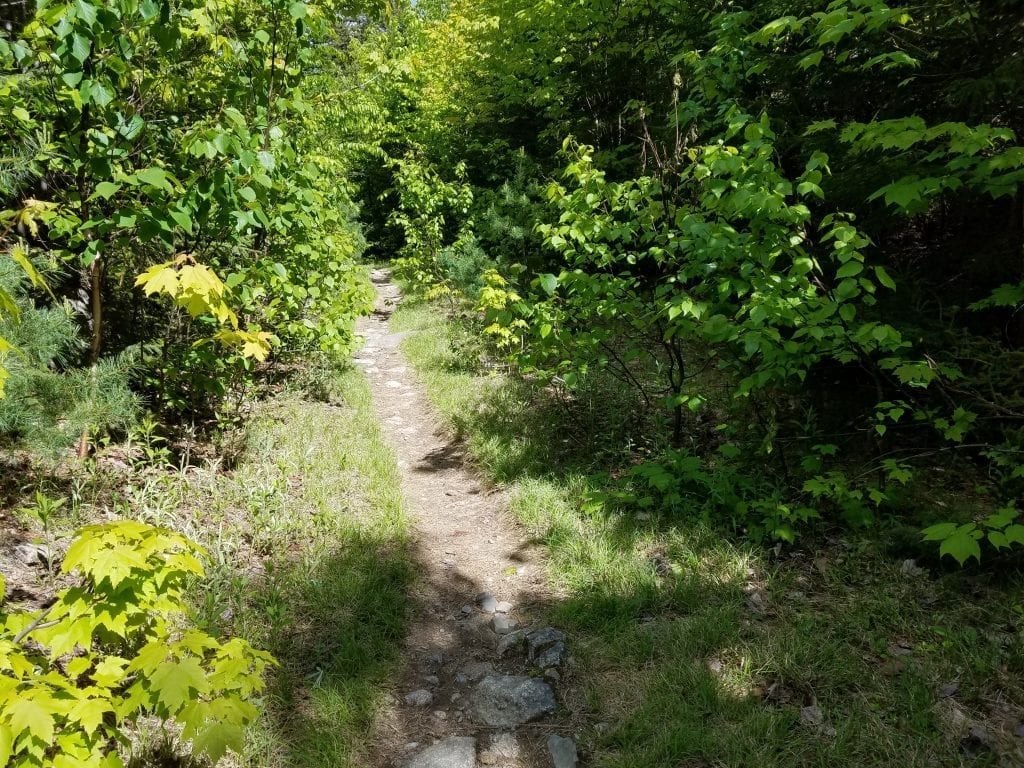
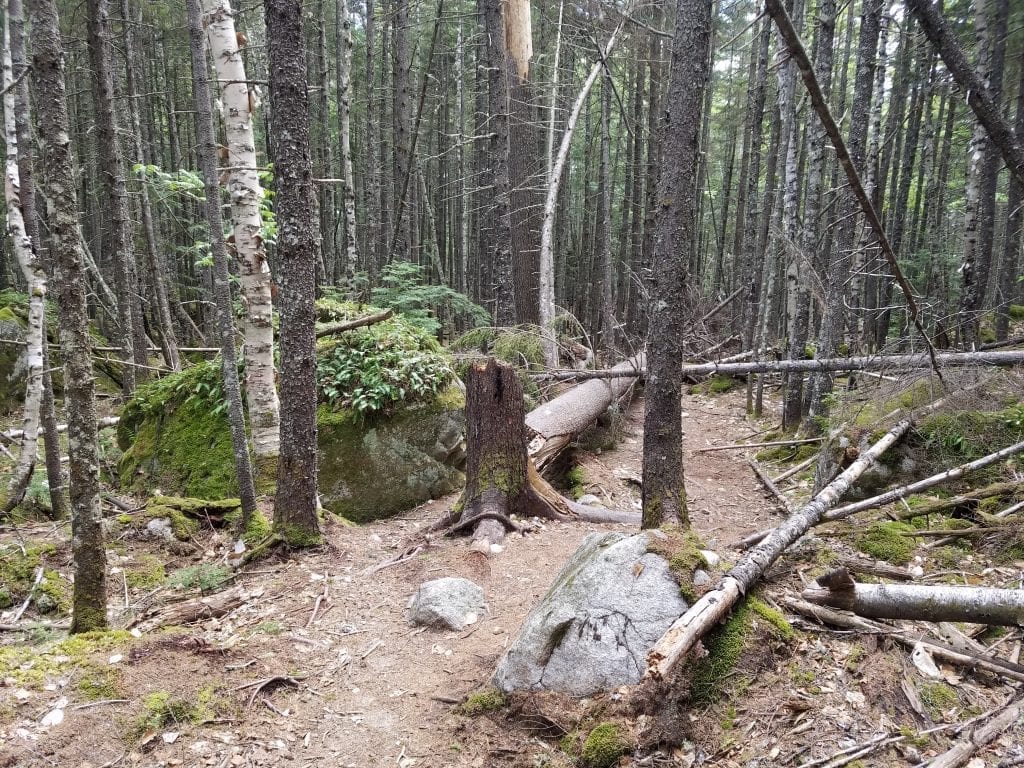
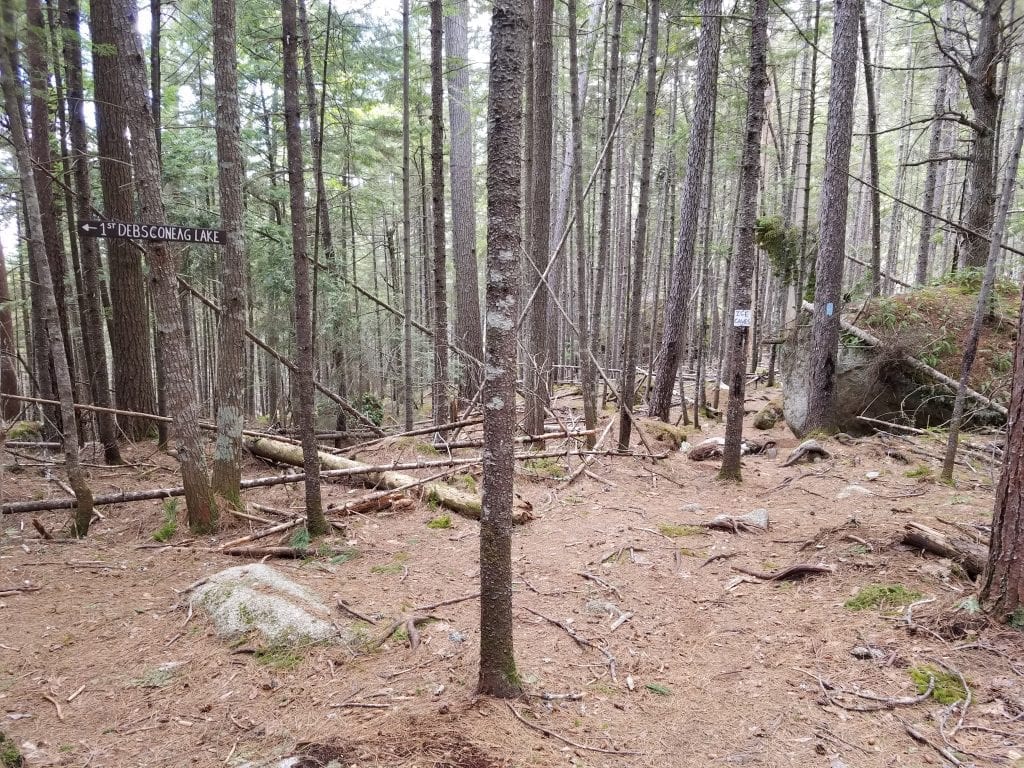
For starters, the hike begins and stays pretty easy for most of the way. By easy, I mean low-grade hiking. There are tons of roots and boulders, and sometimes logs to climb over, but the grade is minimal. It’s refreshing. The trail is fairly wide, with the occasional sections that are constricting as you hike through denser new forest trees on both sides of you. You will pass all kinds of large boulders with beautiful small ferns growing on them. Always remember to look behind you every 10 or so minutes so you can remember where you came from. Follow the blue blazes on the trees and you will reach the signs at the fork in the trail which will point to the ice caves (to the left) and the scenic overlook (.2 mile on the right and well worth the extra distance).
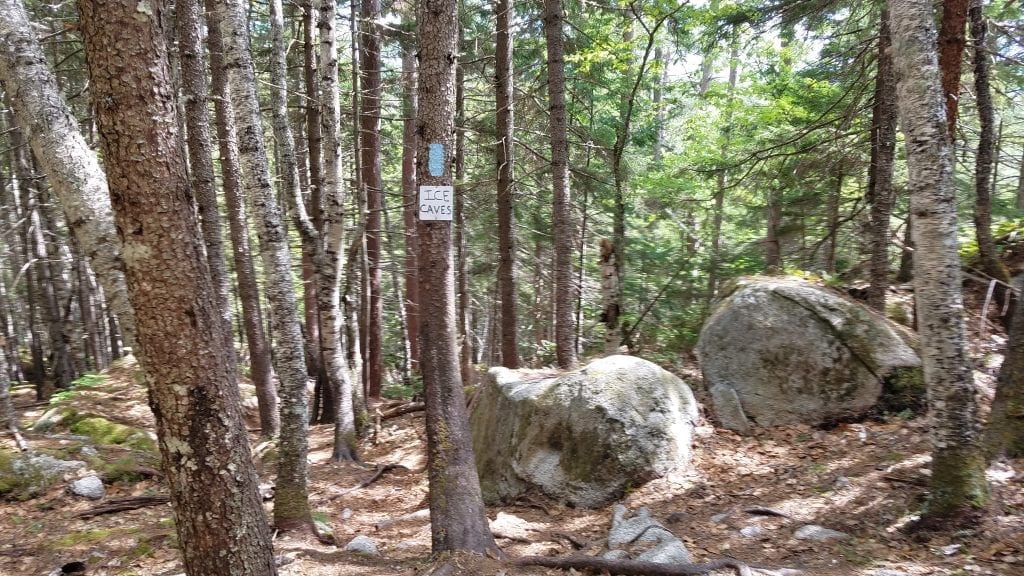
Hiking Down to the Ice Cave
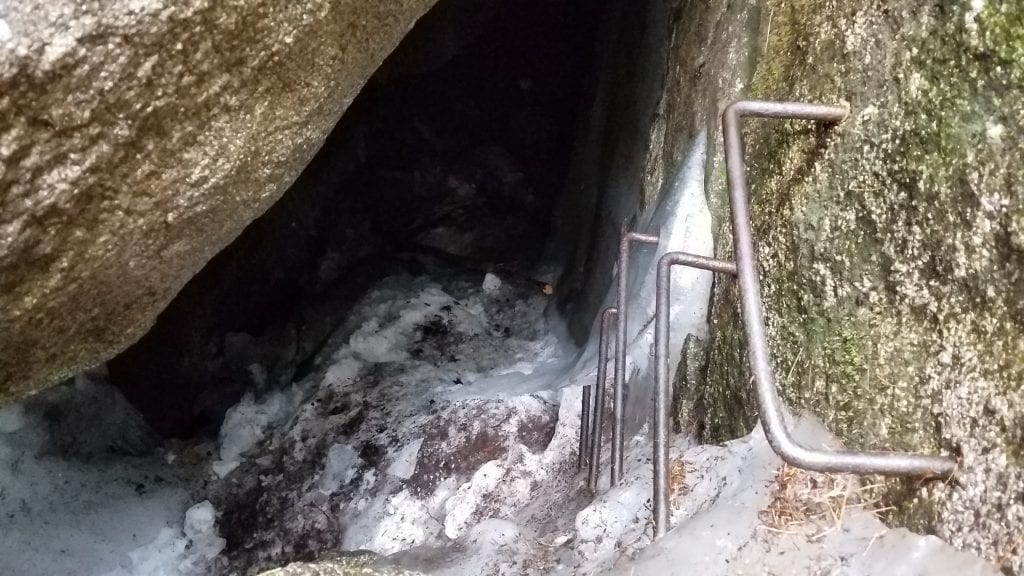
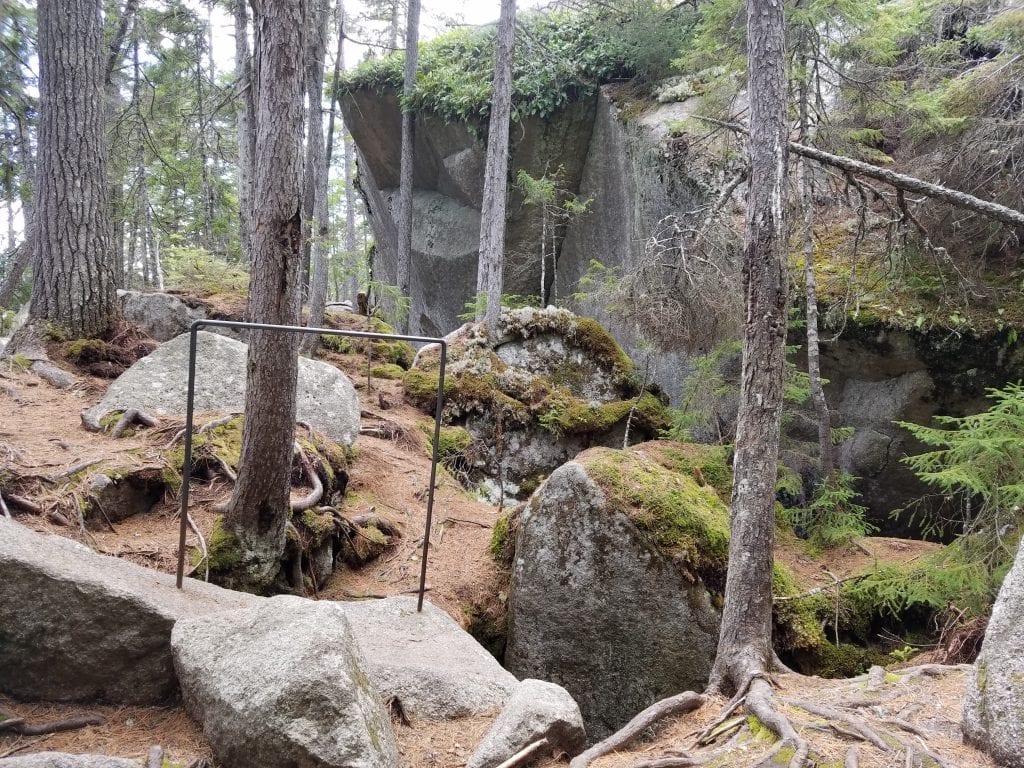
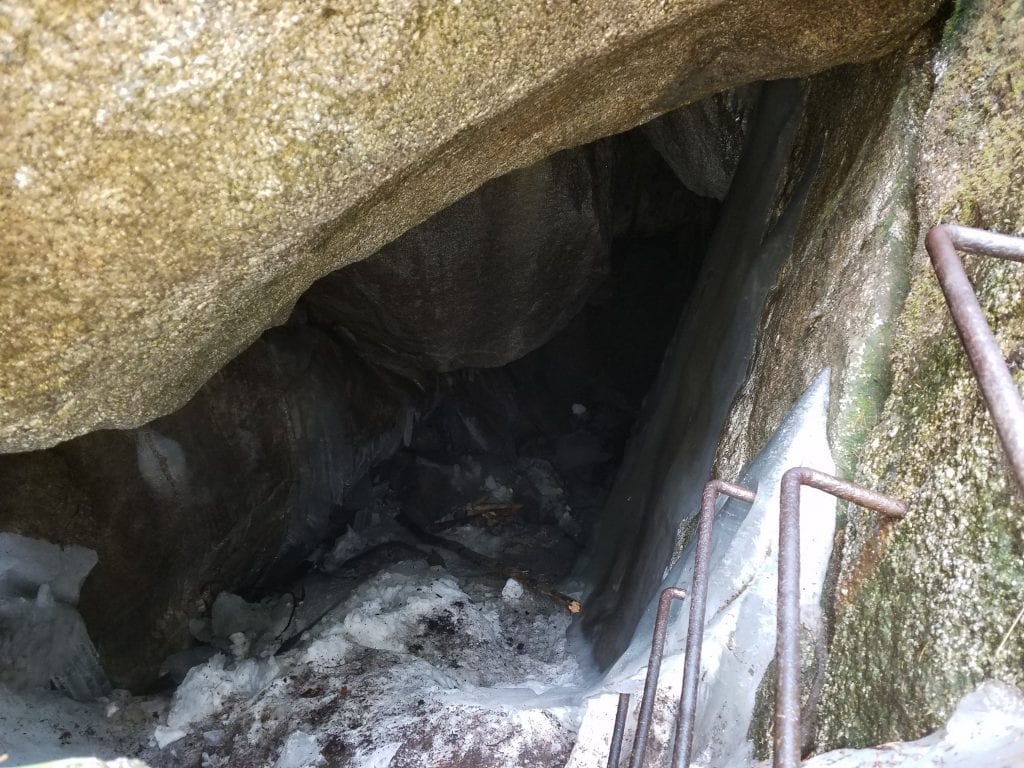
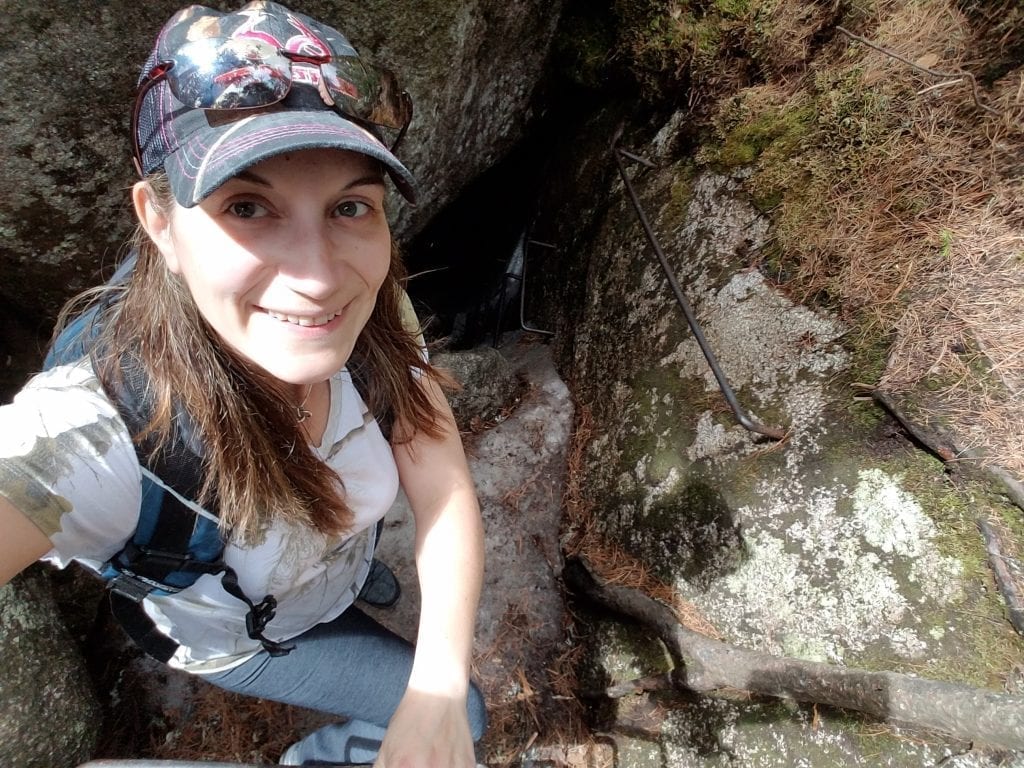
When you reach the fork, things change a lot. From there, the hike is downhill, on a steep grade, but the cave isn’t far from there. Maybe around 7 minutes or so for the average hiker. You will hit a switchback as you head towards the ice cave. It is a fairly steep descent, but not for long. There is another fork in the trail up ahead. Going left will take you to First Debsconeag Lake, and going right takes you to the ice cave. It was clearly marked when I visited. You will know you have reached the cave by the sight of the metal bar sticking up out of a section of rock. Please proceed with caution- it is very slippery in the ice cave. Depending on the season and if you are alone or with others, you may not want to descend into the cave. I was hiking alone and decided to only go down the first set of stairs because there was no ice or snow there. The first set of metal rungs lean away from the rock, meaning that the first two rungs stick out further from the rock than the bottom two, giving you the feeling that you are leaning back as you climb down. I highly recommend you have crampons if you plan to climb down into the ice cave. One broken leg can really make that hike back feel like an eternity. I have heard that you can stand up in the cave if you do make it down in there. While I didn’t go down into the cave, from what I saw, I believe it. Very cold, and very awesome. There was still snow in the cave along with ice on the walls when I visited.

Heading Back
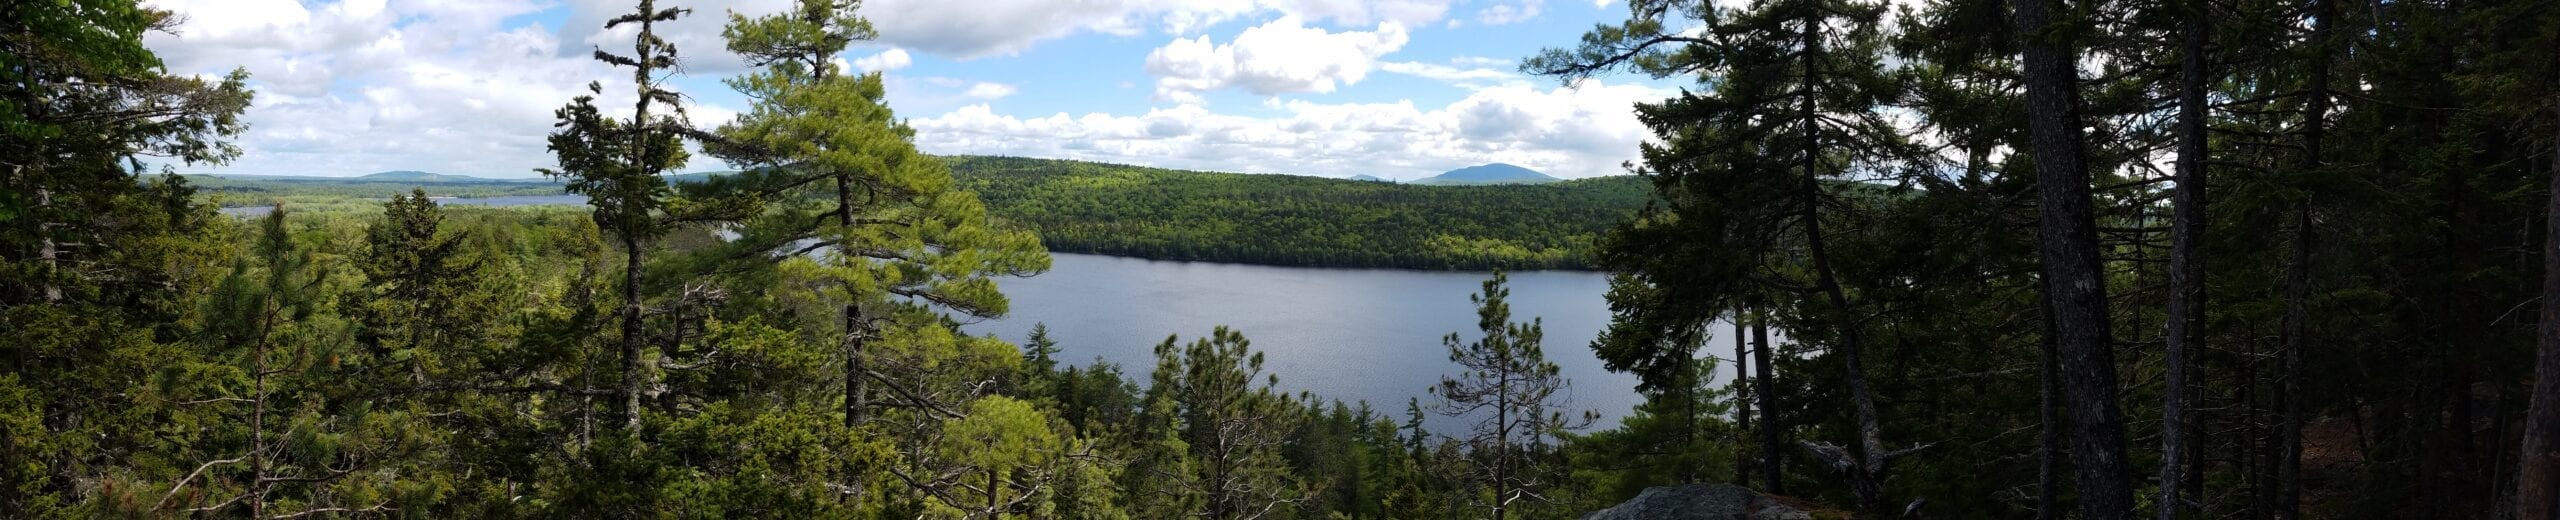
On your way back to the trail from the cave, it is a rather steep climb. Don’t forget (like I did) to look up every now and again. If you forget to look up, you will miss the signs that show you where the trail fork is. I kept on hiking up, thinking I was going the right way, only to realize that I was climbing over a downed tree that I didn’t remember. Shortly after that, I came to the scenic overlook. In hindsight, I had no plans to visit the scenic overlook, because I was a bit pressed for time, but I am glad that things worked out that way, because it is definitely worth the extra .2 mile hike. Mountains form the backdrop for First Debsconeag Lake as you look out over miles of untamed wilderness. On your way back, keep your eyes open, as it is easy to miss the fork in the trail. As I mentioned before, always look over your shoulder at every turn in the trail or every 5 minutes so you know what you’re looking for on your way back. The trail always looks completely different when hiking it in the opposite direction.
Driving back to Abol Bridge
I forgot to mention there is an outhouse just up the road from the parking lot area for the ice cave. I didn’t notice it on the way it because the trees hide it a bit. You’ll definitely notice it on your way back. Stop at a few of the campsites on your way back as well if you have time. They offer some incredible views of Pockwockamus Falls and Abol Falls, and you might even see some wildlife.